
Il sole non sembra voler tornare tanto presto e quello che vi propongo oggi sembra molto adatto a queste grigie giornate.
Un dettaglio che rallegra il momento
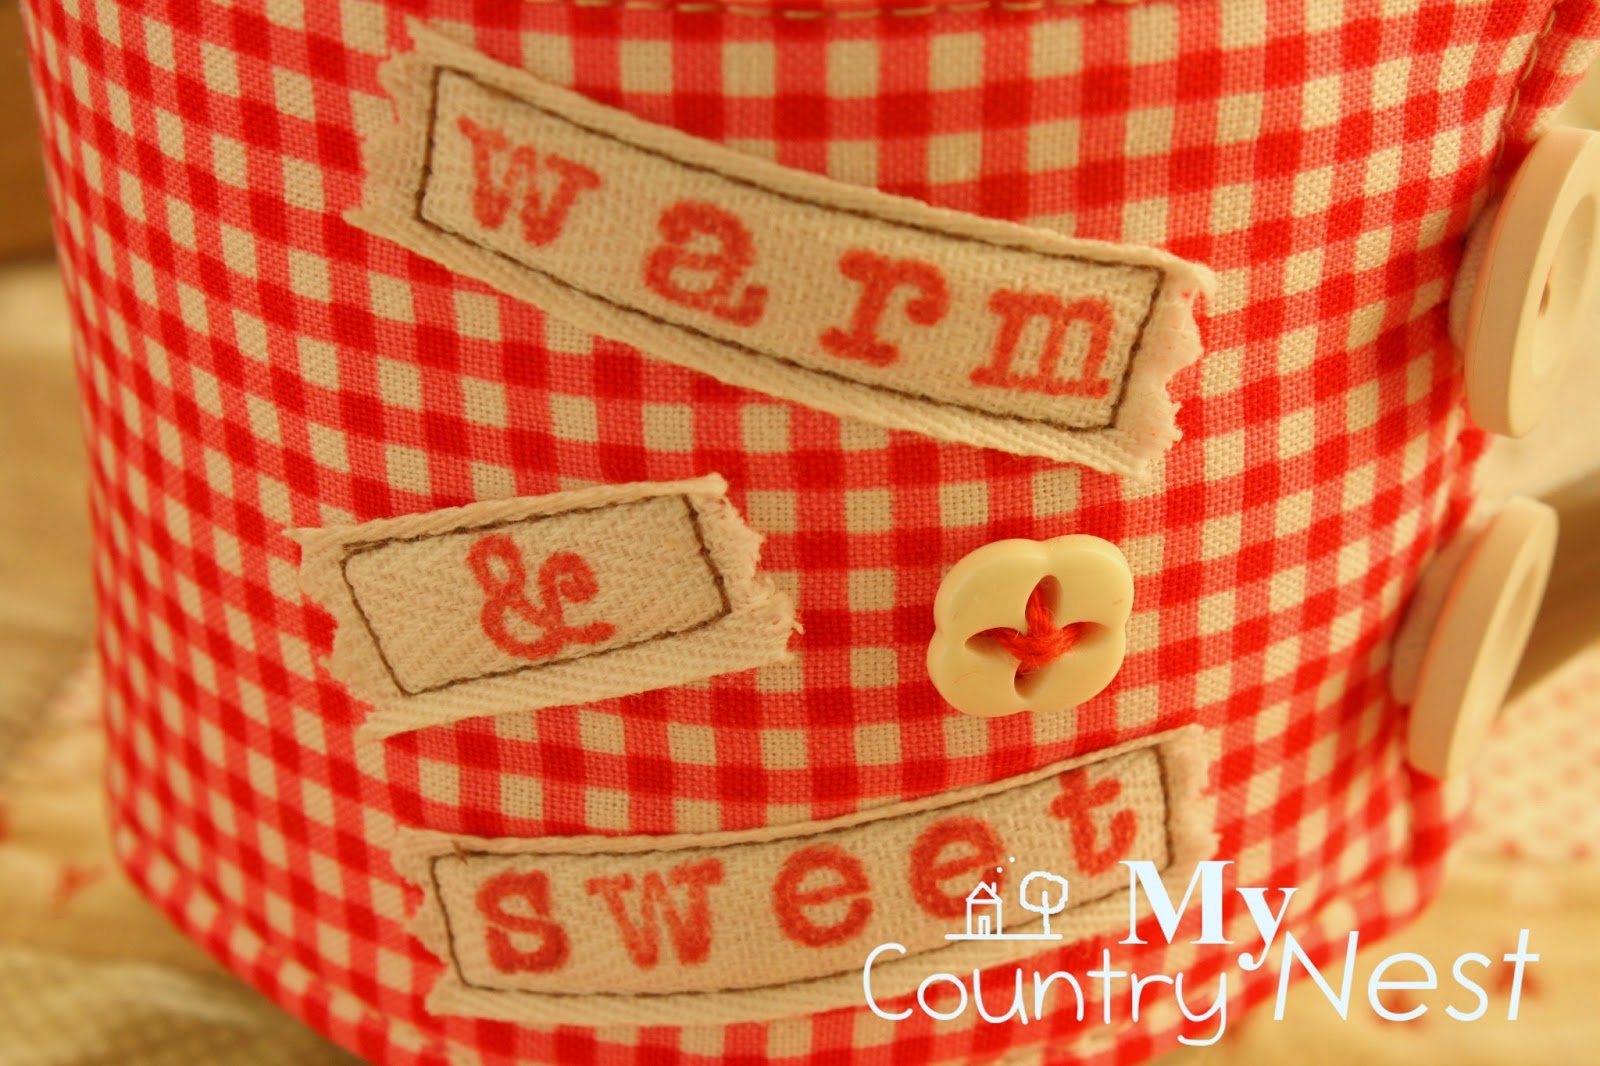
del tè o di una bevanda calda è quello di un mug cozy, ovvero una
striscia di stoffa che avvolge e tiene in caldo la tazza. Una coccola
colorata. La scritta
dice “warm & sweet”, ovvero calda e dolce, come ogni buona
bevanda dovrebbe essere.
A mug cozy can be a nice detail for your tea time.
A coloured hug for your favourite mug.

Vi piacerebbe realizzare la vostra?
Vi regalo questo piccolo tutorial fotografico e spero vi piaccia.
Would you like to make your own?
here's a tutorial by me, hope you like it.
****
MUG COZY

cotonina in due fantasie coordinate
ovattina in fogli
elastico tubolare
bottoni
fettuccia di cotone
timbri alfabeto
inchiostro per stoffa
filo da ricamo rosso
cotton in two different patterns
batting
tubular rubber band
buttons
cotton ribbon
rubber stamps: alphabet
fabric ink
red embroidery yarn

Le misure sono adatte a una mug alta 11
cm e larga 27 cm nel punto più largo. Adattate le misure alla vostra tazza, se molto differenti.
1. Tagliate tre strisce di 10x27 cm
ciascuna dalle due cotonine e dall'ovattina.
2. Ponete la striscia scelta per l'esterno,
con il rovescio a contatto dell'ovattina, ponetela intorno alla mug e
segnate con uno spillo il punto che sarà più visibile quando si
tiene in mano la tazza.
3. Tagliate tre pezzi di fettuccia bianca
e stampatevi le tre parole “warm” “&” “sweet” con i
timbrini. Lasciate asciugare.
4. Posizionate i tre pezzi nella zona
contrassegnata dallo spillo, spillate in posizione e cucite a
macchina lungo i contorni.
Measures given are for a mug that is 11 cm high and 27 cm large. Please adapt measures to your own mug.
1. Cut three strips of 10x27 each from the two patterned cottons and from batting.
2. Put the outer strip over the batting, wrong sides together, put it around the mug and sign the point that will be more visible while holding the mug in your hands.
3. Cut three pieces of white ribbon and stamp the words "warm & sweet". Let dry.
4. Put the three stamped pieces in the place signed, pin in position and machine stitch along the outlines.

Attaccate un bottoncino decorativo
vicino alla scritta.
5. Ponete la striscia sopra a quella scelta
per l'interno, dritto contro dritto, e spillate. Tagliate due pezzi
di elastico di circa 10 cm ciascuno e piegateli in due. Inseriteli al
centro del lato opposto a quello decorato, con gli estremi verso
l'esterno e a circa 1 cm l'uno dall'altro.
6. Cucite tutto intorno, lasciando circa 7
cm di apertura al centro del lato basso. Tagliate via gli angoli e
l'eccesso di ovattina, per evitare l'ingombro sul dritto.
7. Rigirate sul dritto attraverso
l'apertura, stirate e chiudete l'apertura a mano.
8. Attaccate due bottoni sul lato corto,
in corrispondenza delle asole elastiche sull'altro lato.
La coccola di cotone per la vostra mug preferita è pronta!
Attach a tiny decorative button near the words, if you like.
5. Put the outer piece over the lining, right sides together. You have to cut two pieces of rubber band of 10 cm each. Fold them double and insert on the opposite side of the stamped sentence. Ends must be towards the outside and 1 cm one from the other.
6. Stitch all around, leaving 7 cm open in the bottom. trim away the corners and the excess of batting, to avoid the bulk.
7. Turn inside out through the opening, iron and close by hand.
8. Attach two buttons on the short side, opposite to the two rubber band slots.
Your mug cozy is ready!
 |
| Mug a pois Maisons du Monde |
Questo tutorial risale a qualche mese fa e mi torna utile in un momento come questo in cui niente di nuovo vede la luce.
Non tocco la macchina da cucire da almeno due settimane e credo sia un piccolo record per me.
Mi spiace se sono e sarò un po' meno presente del solito, ma questo mese è denso di avvenimenti importanti per motivi familiari.
Gli impegni mi tengono lontana dalla creatività.
Creatività che langue anche per motivi fisici e "fisiologici", legati al meteo e alla stanchezza post Formigine e post influenza ( che non vuole passare del tutto).
D'altronde, che sia come un'onda che va e viene lo sappiamo :-O
This tutorial dates back to a few months ago and is perfect in such a "calm" period.
Some important news in my family keep me away from creativity ( I'm tired, too) and blogland.
Un abbraccio!
Hugs

34 commenti: